So what are the negatives? Well, my layout is approximately 11 feet wide, and the station base is right now just over 4 feet wide. This restricts what I can do, but I decided a long time ago, that my primary goal of the layout is to recreate historical scenes of the past. The main focus of my layout is going to be the City of Joliet. I need to change the blog banner to say "Zett's Joliet Layout" because that is what the layout is going to be, a Joliet layout. A majority of the trains that I will run on the layout will be EJ&E, and EJ&E will probably be the second focus point of the layout.
I placed some temporary lighting in the room for these pictures to get some better quality shots. Once the track lighting is installed it should take care of the shadows that show in the pictures. Keeping an eye on the overall picture, I am very happy with the color blue I used on the walls. This first shot is an overall picture of where I am at with the station (minus the stairs which I completed a day or two later, see below). I finally completed the two chimneys that are on each side of the indoor waiting area, which is now a banquet hall. I am not sure what happened to these chimneys. They vanished sometime in the 1960's, I am assuming because of a structural issue, and have never returned. The station was restored in 1991, but somehow restoring the chimneys was not included in that project. Because of this I had to largely guess on the chimney dimensions, specifically the width at the top. I still have not decided if I need to trim them down at all or not, they may be slightly too wide.
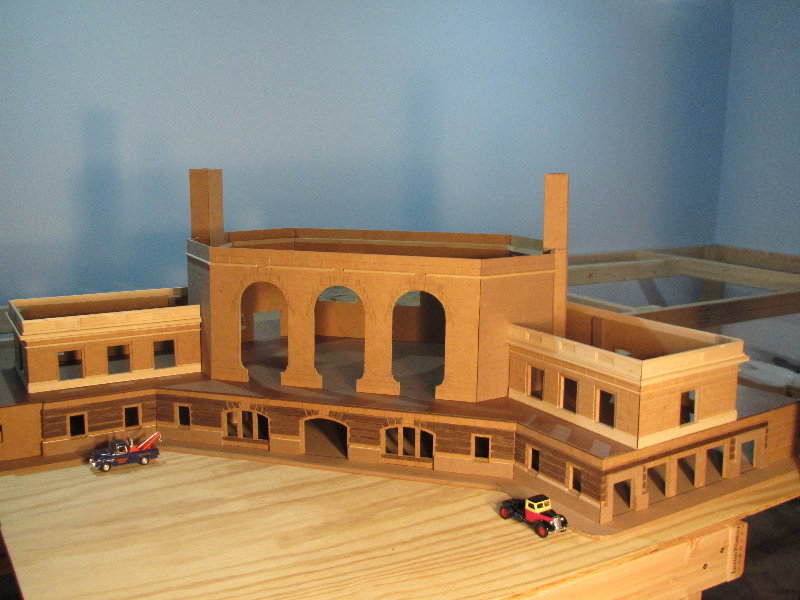
Here is a shot of the west wall at street level which is almost complete. My goal is to build the station as it appeared in 1912 when it was constructed. So far I have not found any good photographs accurately showing what this wall looked like in 1912.

This shot shows the curb that I made using 1/4" MDF, which gives a curb height of 12 inches. This is quite high for a curb but I made it this way for a reason. The primary ground covering around the station will be dirt roads, as the station appeared in 1912. When I am running modern trains, or anything in a later time period, I will lay "paved" streets over these dirt areas. This will be made of 1/8" hardboard, leaving a 6 inch curb height for paved roads. The curbs as they appear in the pictures below are of an estimated width because the sidewalks around the station were widened after the station was initially constructed.

I completed the first staircase which is made using the 1/8" hardboard. Compared to scale, each step is slightly small, so this model has 3 extra steps. I decided that this is ok, due to the fact that the stairway is almost completely hidden from view. I don't think that the effort required to make the steps perfect would have been worth the result.

This shot shows a view looking down at the staircase from the passenger platform. Three sides of this stairway will be surrounded so the cut in the floor did not have to be perfect.
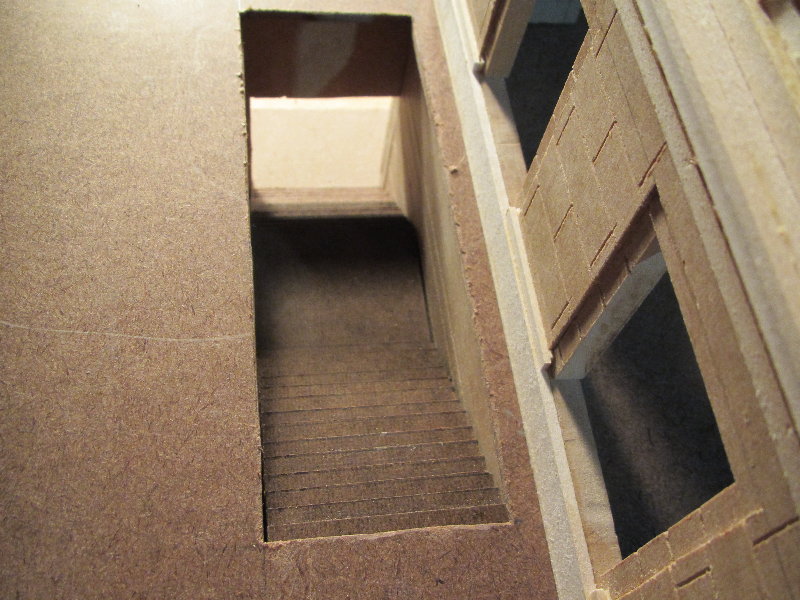
This final shot is a view of the staircase looking up towards the platform. I still have to scribe the vertical lines into the walls on each side of the steps.

Thats all for now. Its inevitable that this thing gets finished sooner or later, so stay tuned.